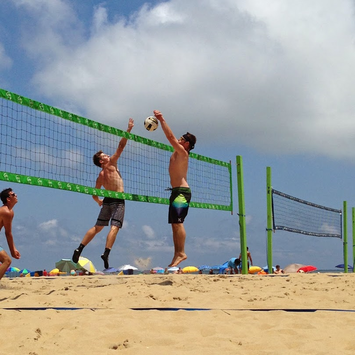
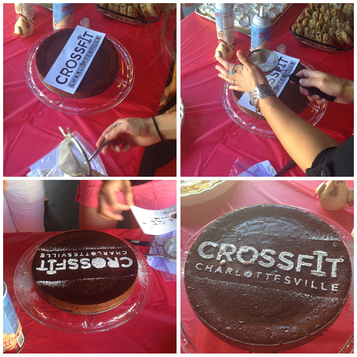
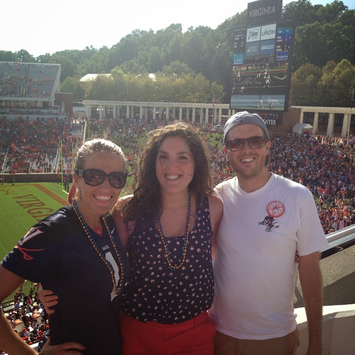
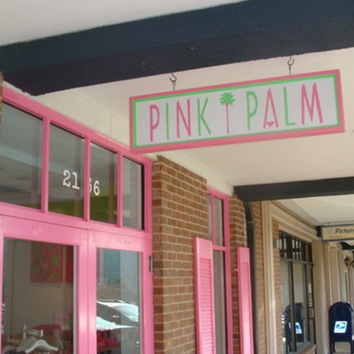
While summer hasn't officially ended, in my book it has come to a close since it is now FOOTBALL SEASON! Yes, I skip fall and focus entirely on football, tailgating and gameday fun. But before I get ahead of myself I thought it would be nice to catch you up on what I have been up to this past summer with a fun photo diary recap. After the first rained out Richmond Squirrels game, I headed back to RVA and my dad got to throw out the first pitch with Nutzy... I did a little wedding crafting for a few future brides... It wouldn't be summer without catching a concert under the stars at Innsbrook After Hours with one of my favs... Finally was able to go wine tasting at what my be my new favorite winery. Trump, you are not fired... I got to enjoy a day of beach volleyball (watching, not playing) at Virginia Beach... Celebrated the 5 Year Anniversary of my gym and one of our amazing trainers was nice enough to make this amazing chocolate cake... And of course I headed back to the beach to catch some surfing & volleyball at ECSC... And officially kicked off the tailgating, I mean football season with the UVA vs.UR game with my cousin and his gf. And I promised that I would have a fun announcement for you all today...I'm joining the Lilly Pulitzer team at The Pink Palm in Charlottesville in a week! What have you been up to this summer?
xoxo
Megan
You might also like...
Happy Monday to you all! Sorry I have been away for two weeks but I am back, so no worries! This summer has just been flying by and I can't seem to keep up. A few weeks ago I got to stand by my friend as her MOH on her wedding day. The happy couple decided to host their wedding down in Kingsport, TN so that meant a fun road trip for me! I had so much fun that weekend with the bride and groom to-be and could not wait to share some of my favorite moments with you! Let the wedding festivities begin...
We were off and running as soon as I arrived in Tennessee for the wedding weekend. Here is the bride and I on our way to rehearsal...
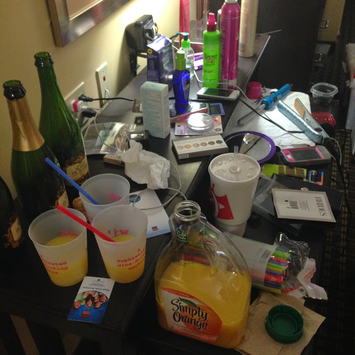
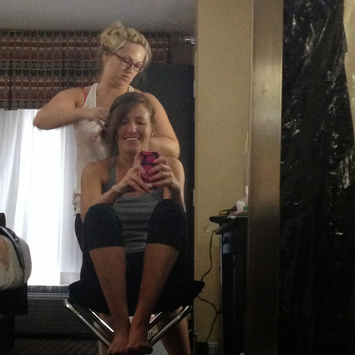
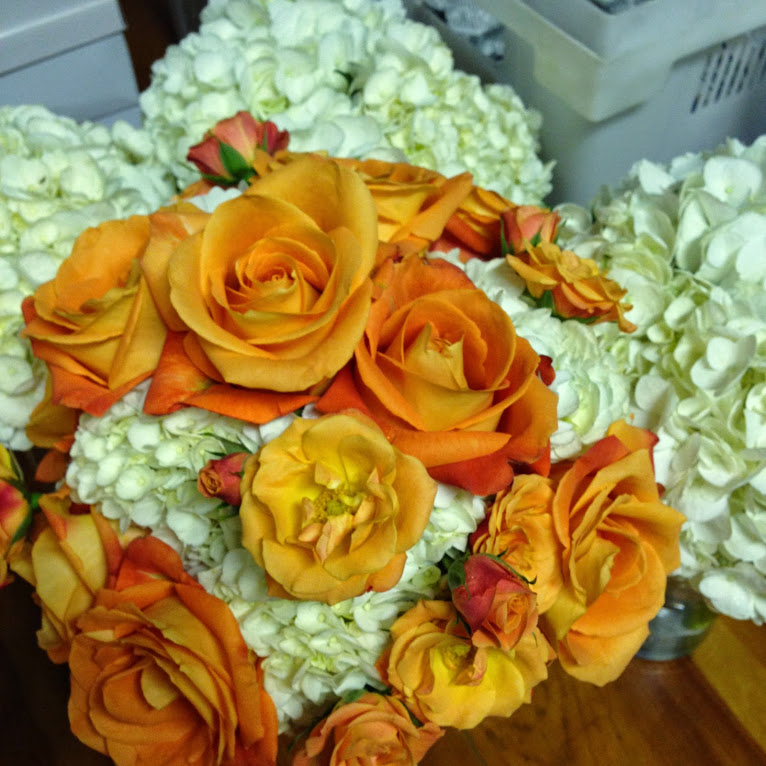
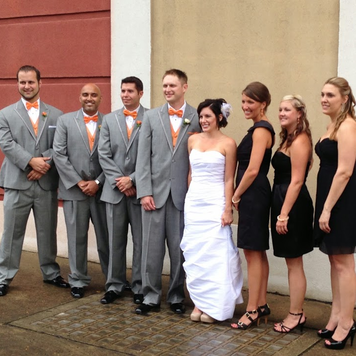
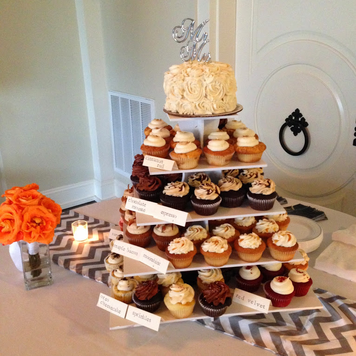
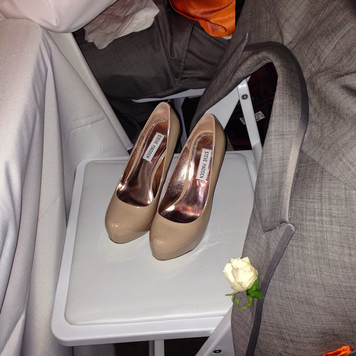
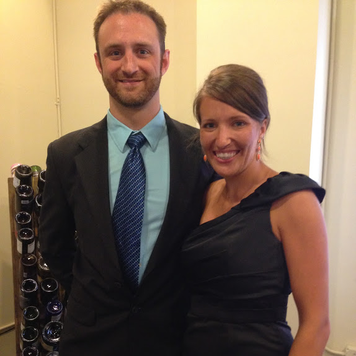
When getting ready the morning of a wedding you can never have too much champagne... Then it was time to get my hair done... And then it was off to the wedding for the I dos! Sorry no pictures since I was in the wedding, but I did get some great shots of how the bride incorporated the Tennessee orange into the wedding details! The earrings and bow ties matched perfectly! Can't forget a group shot of the entire wedding party... The reception had the cutest cupcake tower with so many delicious flavors... The heals came off when it was time to hit the dance floor... And the best part of the whole weekend? I think it might have to be my date! Be sure to check back in on Thursday when I share with you how I made their wedding present. :) Have a wonderful rest of your day!
xoxo
Megan
You might also like...
This past weekend was filled with lots of food, fireworks and fun! Oh and lots of red, white and blue too! If you are like my sister she only packed items that were red, white and/or blue so she was prepared for celebrating all weekend long no matter the occasion called for. I, on the other hand, discovered that I desperately need to stock up on some more red, white and blue patriotic gear before Labor Day weekend gets here. (Sale suggestions anyone? lol) Anyways, here are a few photos from the weekend that I wanted to share with everyone...
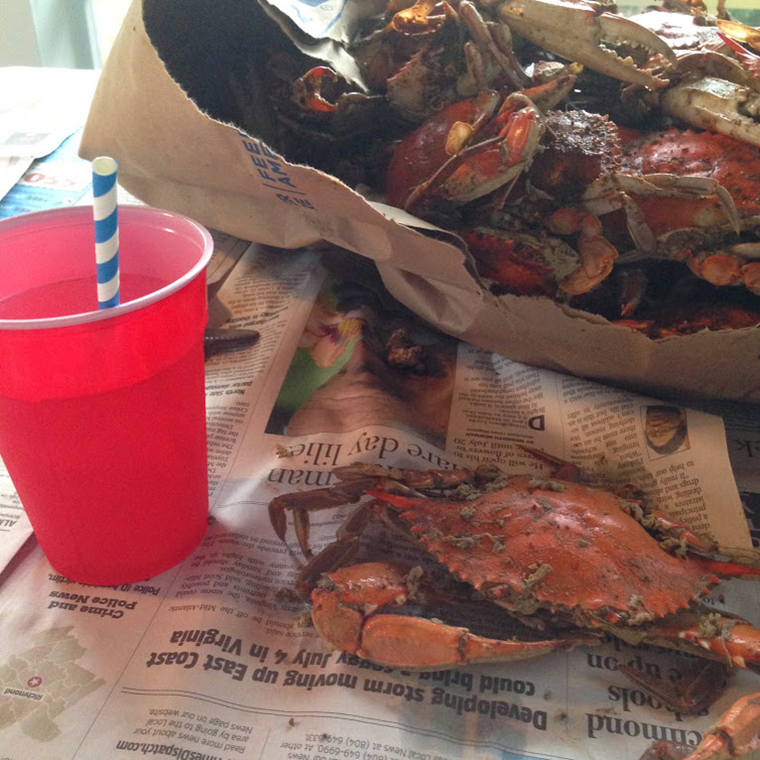
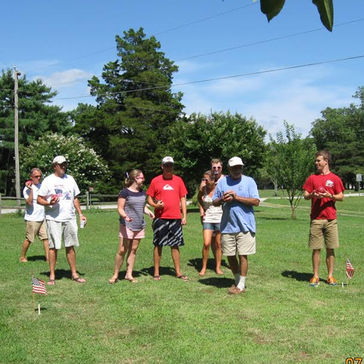
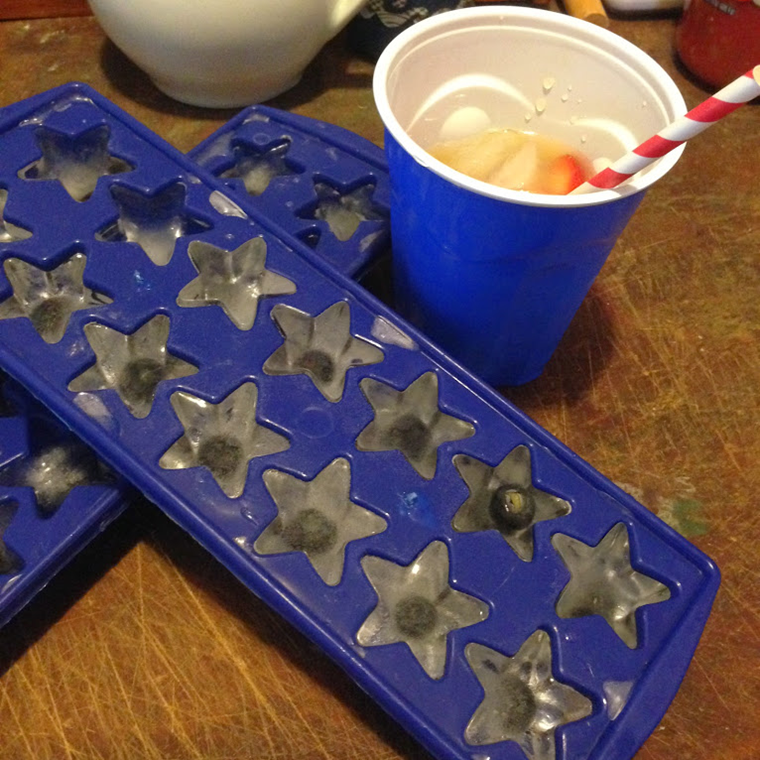
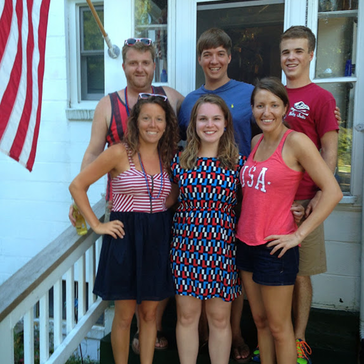
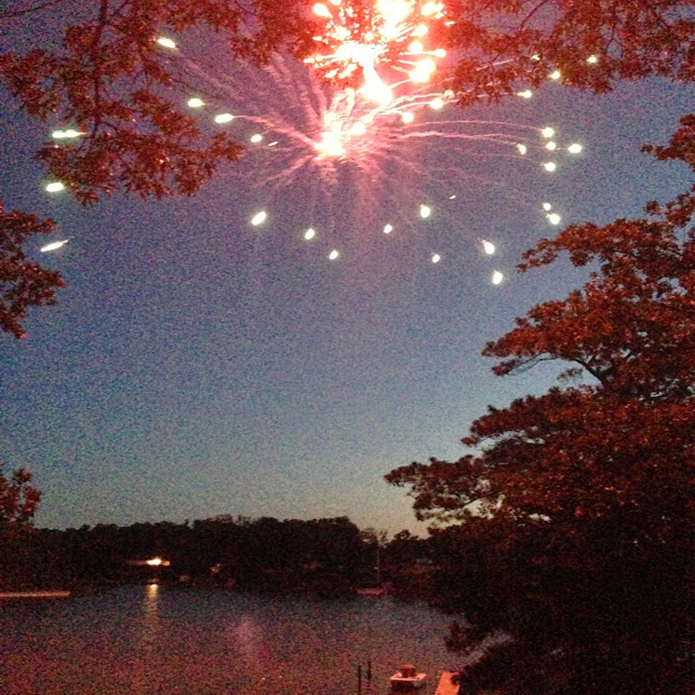
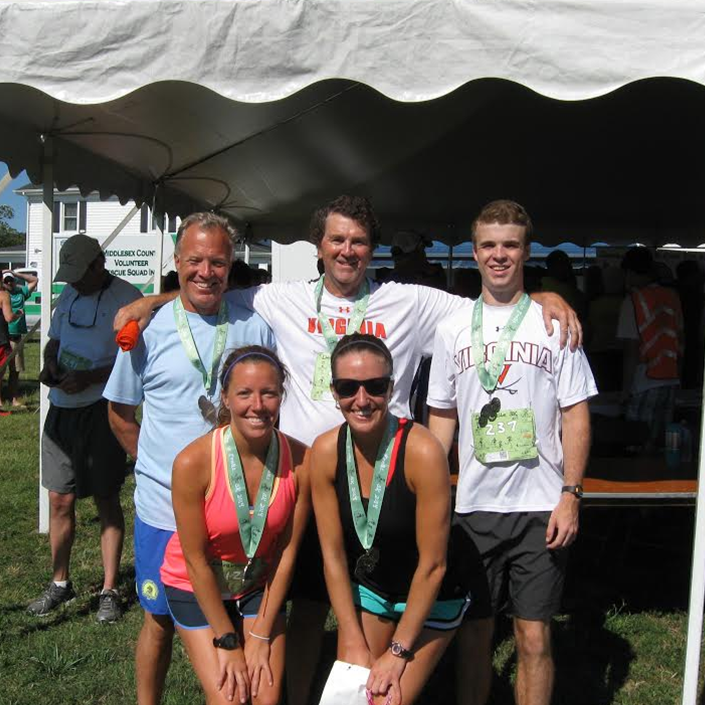
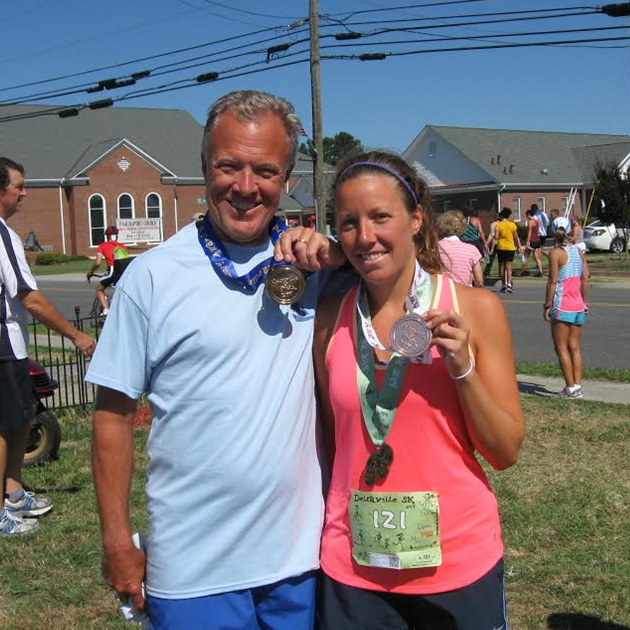
A trip to the river is never complete without a delicious batch of Chesapeake Bay blue crabs fixed to perfection by my uncle... We always like to all join in on a round or two of (friendly?) competition... There were plenty of red, white and blue treats to enjoy all weekend long... The group decked out in our finest red, white and blue all ready for the evening's firework show... And speaking of fireworks (my dad might have a slight obsession with buying fireworks) we got to enjoy a great show overlooking the creek... For the second year in a row we ran in the Deltaville 5K and some of us came home with a shiny new medal... Couldn't pass up a nice spin around the creek on the paddleboard,,, I had so much fun with everyone over the 4th of July weekend and cannot wait to get back down to river later this summer! How did you celebrate this past 4th of July weekend?
xoxo
Megan
You might also like...
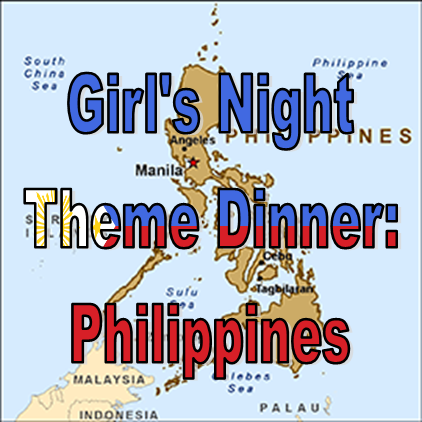
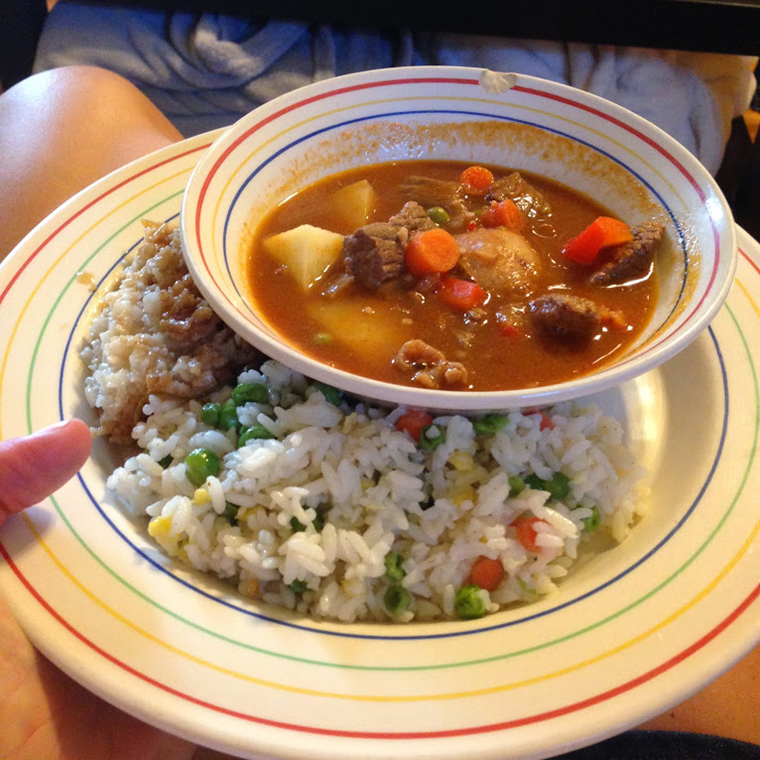
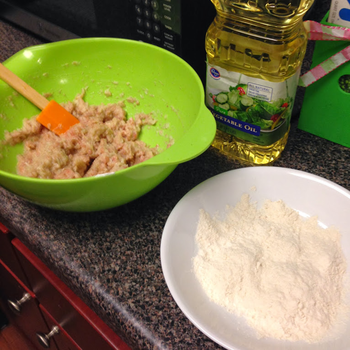
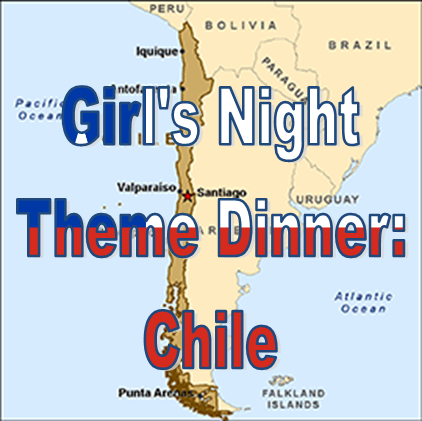
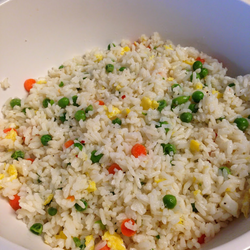 After a few busy months the girls and I were able to get together this past week for another great theme dinner night. And as an added bonus we all got to hangout and watch the University of Virginia baseball team play in the College World Series! Even though they didn't take home the championship trophy they still played amazing and they won the night we watched. (Go WaHoos!!) But back to the dinner... This month one of the girl's suggested that we try our hand at recipes from the Philippines and it was quite delicious! I took a stab at making Filipino fried rice as a perfect side to the rest of the dishes. It was the perfect accompaniment to the stew that one of the other girl's made! I found out that Filipino fried rice, or Sinangag, is less seasoned than other versions of fried rice and paler in color since there is no soy sauce in the recipe. However, the recipe utilizes the same cooking techniques so I now know how to make any version! Here is the recipe that I used (with a few tweaks of course!) Sinangag aka Filipino Fried RiceIngredients- 6 cups of cold (leftover) white rice
- 3 cloves crushed minced garlic
- 1 scrambled egg
- 2/3 cup of any cooked meat chopped in small pieces (optional)
- 1/4 cup cooked peas and carrots (other crunchy vegetable)
- 1/4 cup cooking oil
- Chili or red pepper
- Salt
Directions- Cook 6 cups of rice per container instructions. Once cooked allow to cool and place in fridge. (Leftover steamed rice that has been refrigerated makes the best fried rice.)
- When you are ready to make the fried rice heat the cooking oil in a big frying pan or large wok.
- Next add the minced garlic and fry until golden brown, set aside.
- Add the rice to wok and mix for about 5 minutes to release the starch.
- Once the rice has been heated add the meat, scrambled egg and veggies. You can also add your pepper and salt for taste at this time.
For the rest of the meal we had lumpia, a beef and potato stew (that for the life of me I cannot remember its name but it might have been kaldereta) and bibingka for dessert. I totally forgot to take a picture of the cake but it was very delicious and I don't event like coconut!! Do you have a Filipino recipe that you like to make? Be sure to share your favorites in the comments section below! xoxo Megan You might also like...
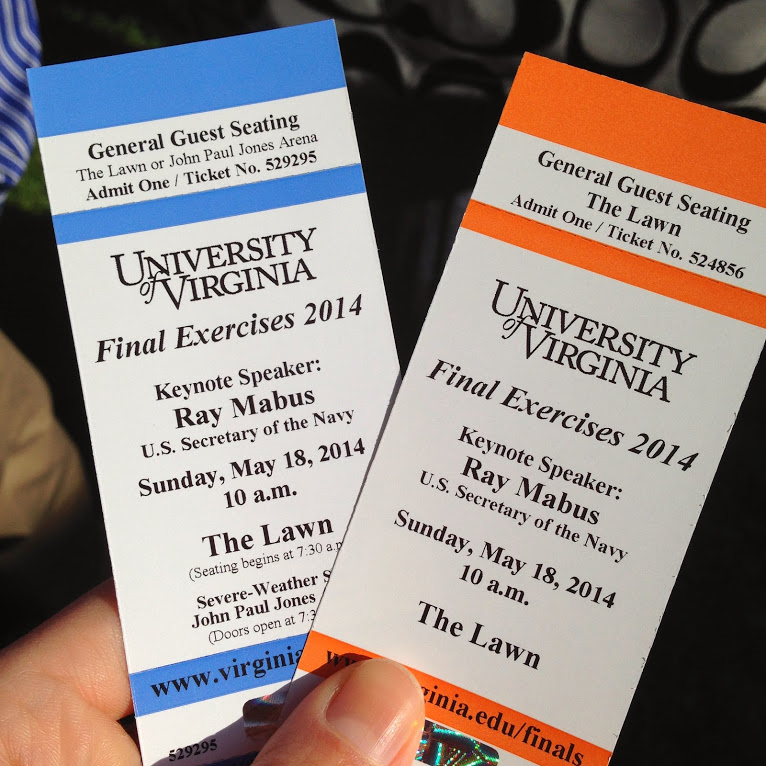
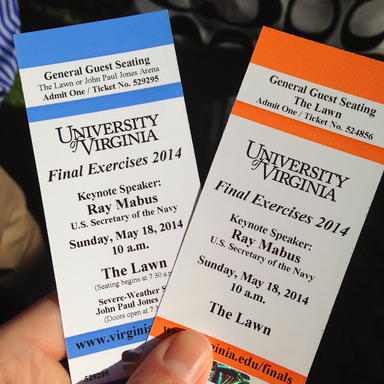
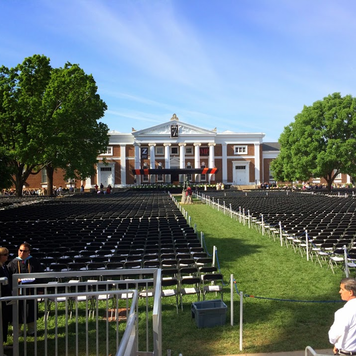
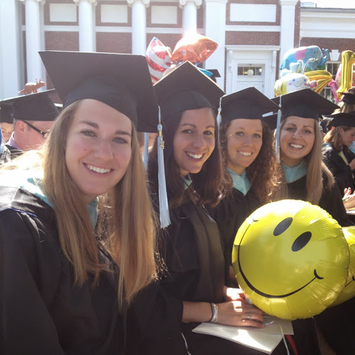
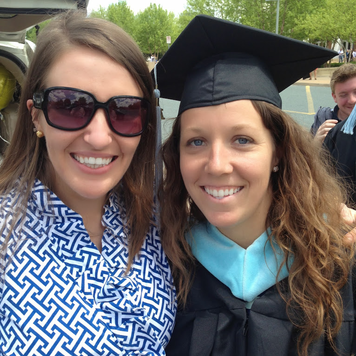
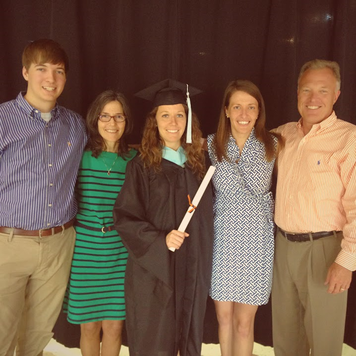
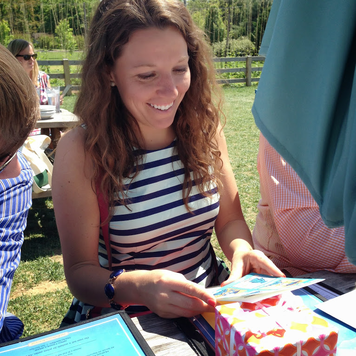
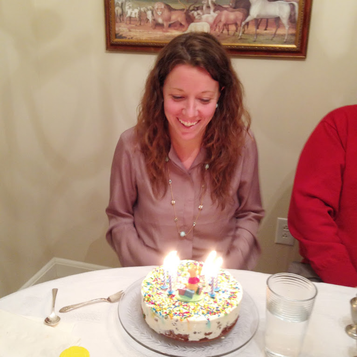
Living in a college town makes for one crazy weekend when graduation rolls around. And what made it even more crazy was that my sister was actually getting her Master's degree from UVA this past weekend. So between working grad events to attending grad events it was one busy weekend in Charlottesville. I made sure to take plenty of pictures as we we bouncing from one event to the next all day long. Here are some of my favorites from yesterday's graduation celebration...
The weather could not have been better for an outdoor graduation ceremony. The beautiful graduates smiling for the camera. My sister, the graduate, at our pre-diploma ceremony tailgate. You made it! Diploma in hand and ready to take on the world! Present time! Success on picking out the perfect graduation card! Cheersing to the grad while enjoying a sunny afternoon outside at the brewery. Have you been celebrating anyone's graduation recently? What did you do to celebrate?
xoxo
Megan
You might also like...
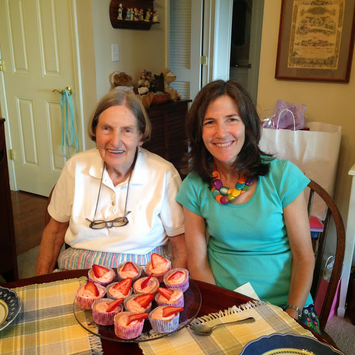
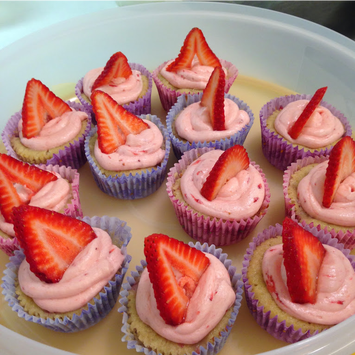
I had such a fun weekend celebrating Mother's Day with my mom and grandma this past weekend. I threw together a fabulous lunch, created a colorful bouquet of flowers, and tried out a recipe for strawberry cupcakes that I ran across on Pinterest for dessert. We all had such a great time together on Sunday and I cannot wait until the next time we are all together to celebrate. Here are some great pictures from our Mother's Day celebration as well as the delicious cupcake recipe I made.
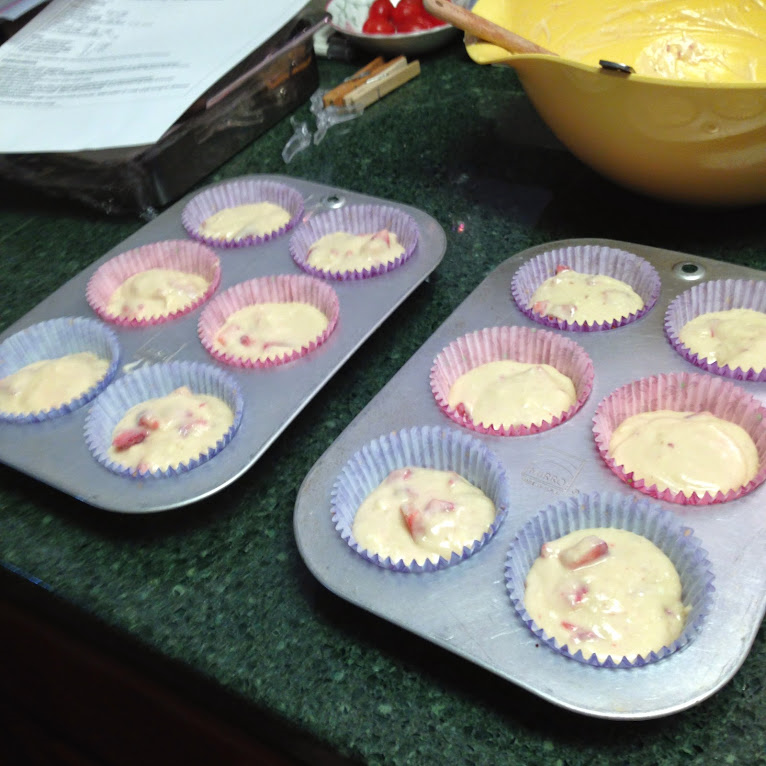
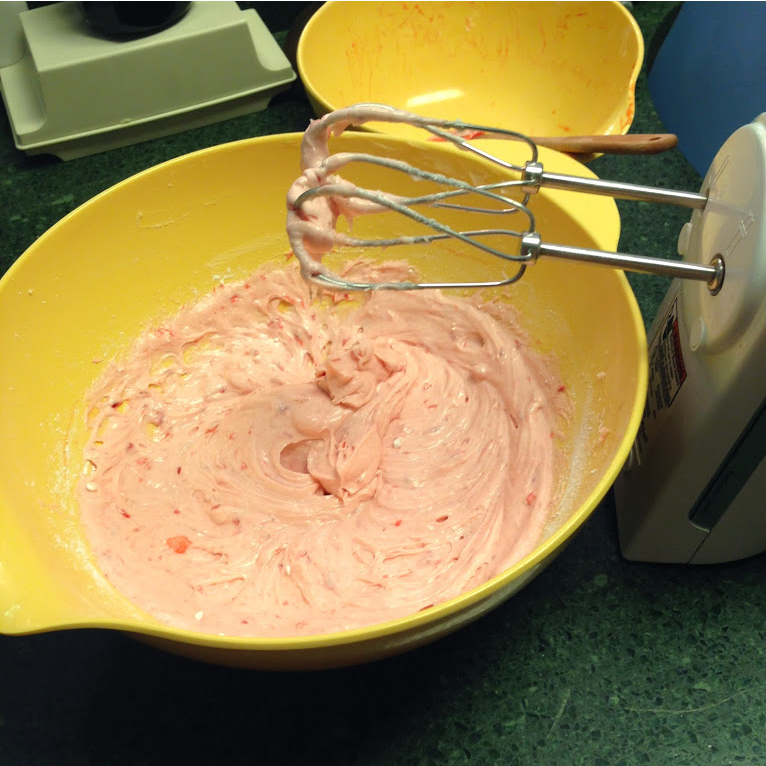
A big thanks to WholeFoods for always having beautiful bunches of flowers to choose from. I could not have put together this Mother's Day bouquet without them! A beautiful picture of my mom and grandma on Mother's Day! So happy I was able to celebrate with you two! And while my cupcakes didn't look exactly like the ones from blogger Life, Love and Sugar, they were just as delicious (I promise!). Big thanks to my dad for the final touch with the strawberry slice on top! Here is how you can make your own Fresh Strawberry Cupcakes complements of Life, Love & Sugar. The homemade strawberry frosting was beyond addictive! I may or may not have had some just by itself. Cupcake Ingredients- 1 2/3 cups flour
- 1 cup sugar
- 1/4 tsp baking soda
- 1 tsp baking powder
- 3/4 cup butter, room temperature
- 2 eggs
- 2 tsp vanilla
- 1/2 cup sour cream
- 1/4 + 1/8 cup milk
- 3/4 cup chopped strawberries
| Icing Ingredients- 1/2 cup salted butter
- 1/2 cup shortening
- 4 cups powdered sugar
- 6 tbsp strawberry puree
- 1 tbsp water or milk (only if needed)
| Instructions- Preheat oven to 350 degrees.
- Whisk together flour, sugar, baking soda and baking power in a large mixing bowl.
- Add butter, eggs, vanilla, sour cream and milk and beat on medium speed until smooth.
- Fold in the strawberries.
- Fill cupcakes liners a touch more than half way.
- Bake for 18-20 minutes.
- Allow to cool for 2-3 minutes, then remove to cooling rack to cool completely.
- While cupcakes cool, make the icing. Beat together butter and shortening until smooth.
- Slowly add 3 cups of powdered sugar. Mix until combined.
- Mix in the strawberry puree.
- Add the rest of the powdered sugar and mix until smooth. If you need to add water or milk until icing is desired consistency.
- Once cupcakes are cool, pipe on the icing.
**This recipe makes about 24 cupcakes. I halved the recipe and only made 12 for Mother's Day. I had so much fun celebrating Mother's Day this past weekend! What did you do with your mom?xoxo Megan You might also like...
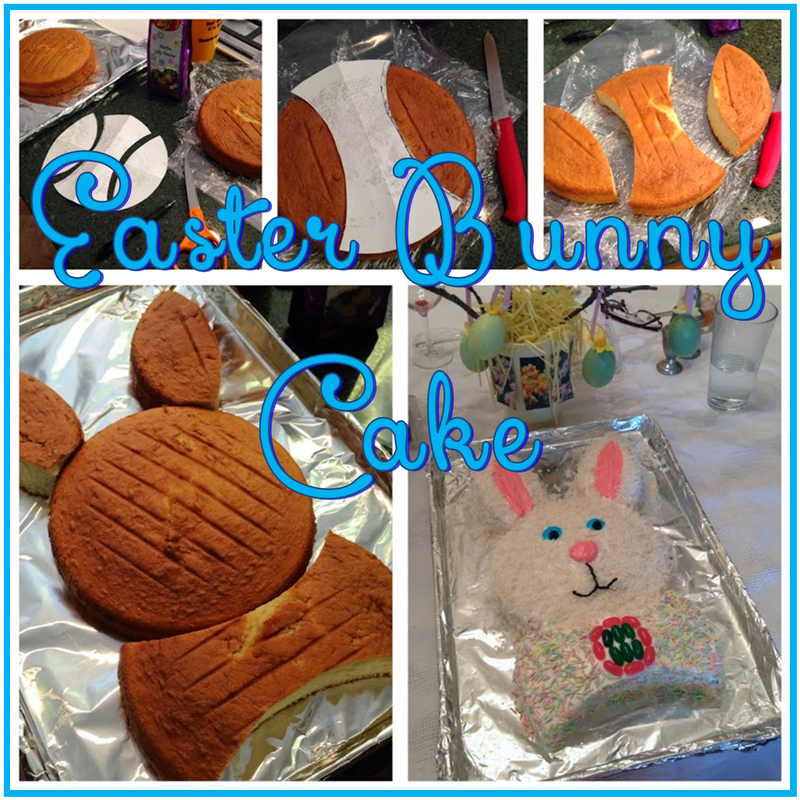
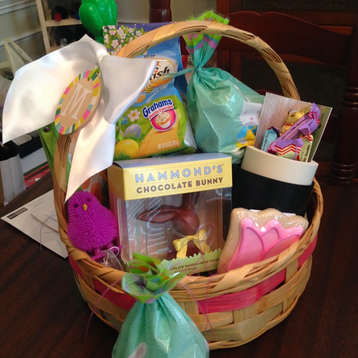
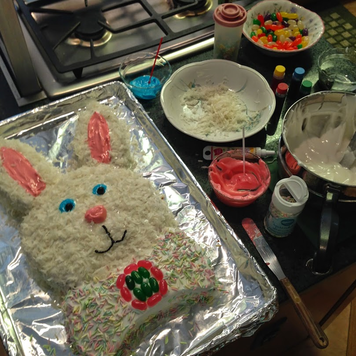
Yesterday I had so much fun celebrating Easter with my family. We started off the morning at church and then all headed back to my parent't house to see what the Easter bunny left. My sister brought over a delicious quiche and while that was heating up we had fun going through all our baskets and exchanging cards. I can't wait to enjoy all my Easter goodies that the bunny left me, especially my Goldfish vanilla cupcake grahams! YUM!! After we enjoyed brunch (and a few goodies from our Easter baskets), I had was assigned the fun task of creating our Easter dinner dessert - a bunny cake! My mom had already baked the cakes (big time saver there!) so all I had to worry about was creating the cake and decorating it. I could not wait to get started! Here is how I made our Easter Bunny cake...
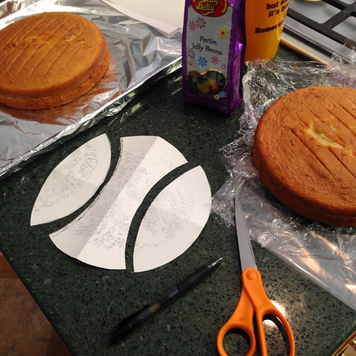
1. Bake 2 - 9' round cakes and let cool. **tip: Since you have to cut one of the cakes make sure they are completely cooled to prevent excess crumbling. If you have time make your cake and allow it to sit in the fridge for a while.
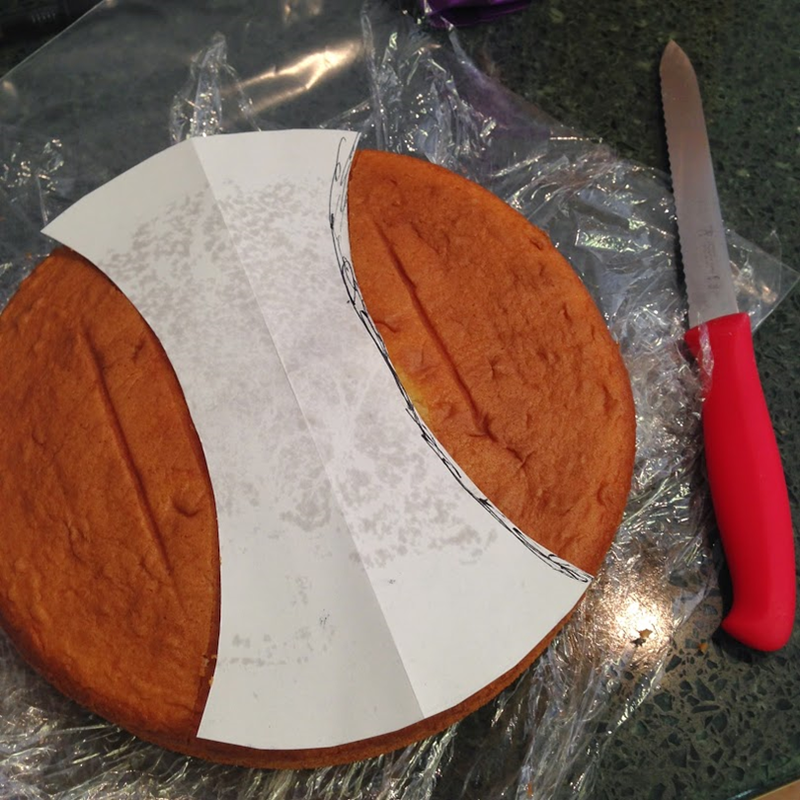
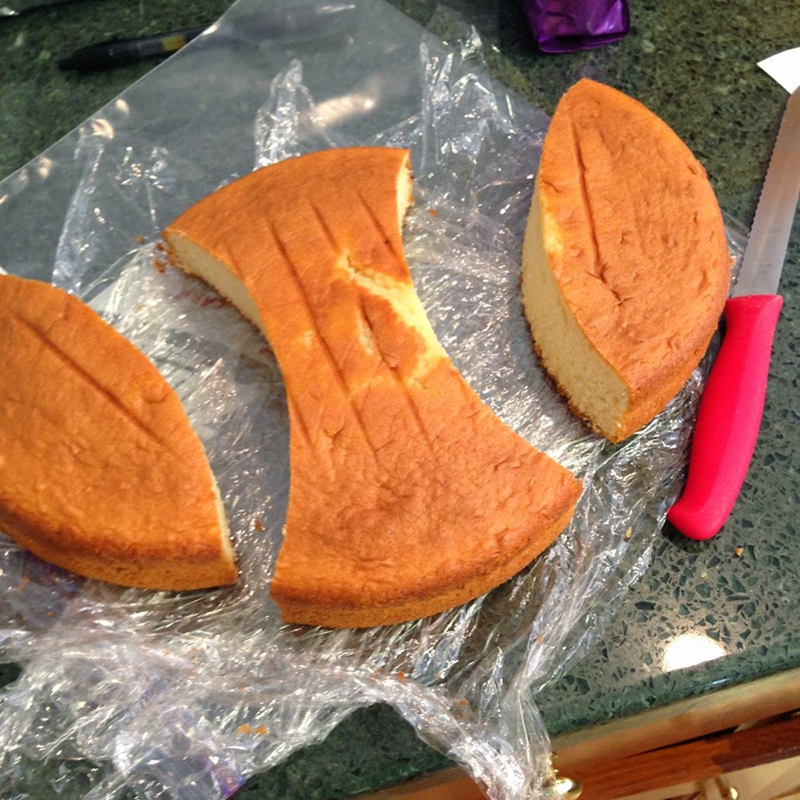
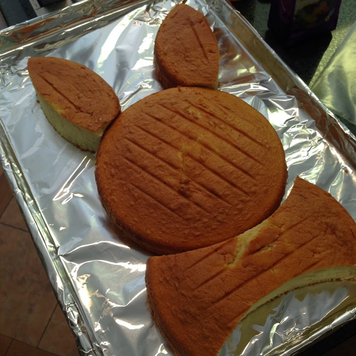
2. When you are ready to decorate gather your icing (I used my mom's homemade 7 minute icing), food coloring, coconut flakes, anything else you want to decorate your bunny with, your 2 cake rounds and a knife. For those who may feel the need for perfect symmetry you will also want a piece of paper, scissors and a pen or pencil. I took one of my cake rounds, put it on top of my sheet of paper and traced around it (our pans were already put away). Next, I cut out my circle, folded it in half and then cut an arc. This will give you your center bow tie and your two bunny ear patterns. 3. Next, take your bow tie patter and place it on top of one of your cake rounds. Take your knife and cut along each side of your pattern. You will end up with your two ears and your center bow tie when you are done. For those who don't want to use a pattern during this step cut two arcs, one on either side, to create this same look. 4. Once you have all your cake pieces you are ready to create your bunny and decorate! 5. And here is the decorated bunny! You can see I take my cake decorating responsibility very seriously. Everyone loved the decorated Easter bunny cake after dinner and I had so much fun decorating it! I did learn one thing though, icing does not like to stick on top of coconut flakes very well, which is why my bunny has no whiskers. (oops!)
How did you celebrate Easter this past weekend? Did you make a bunny cake like I did? I hope the Easter bunny left you something yummy!
xoxo
Megan
You might also like...
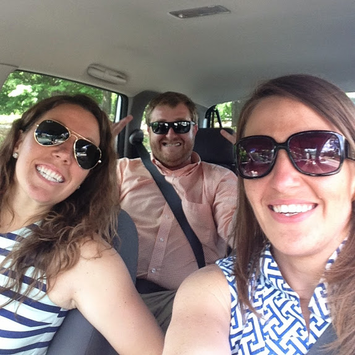
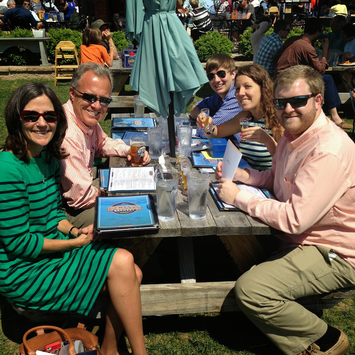
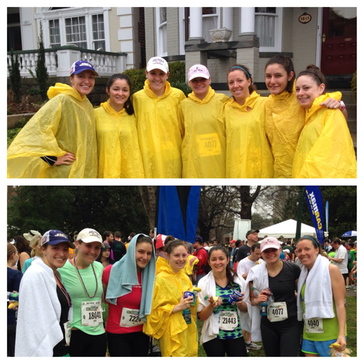
From visits to local breweries, celebrating my sister's birthday, watching my March Madness bracket bust, cooking dinner with my BFF, and running in a 10K with friends, these past few months have most certainly kept me on my toes! I have been cooped up way too long this winter and am taking full advantage of all these warm, sunny days we keep getting a glimpse of. Take a peek below to see what I have been up to lately...
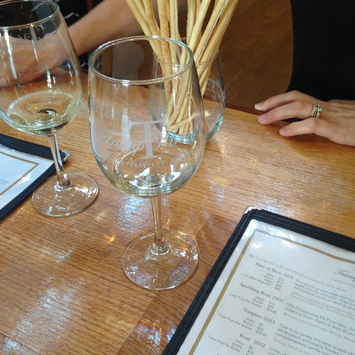
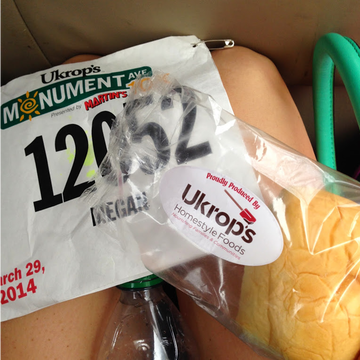
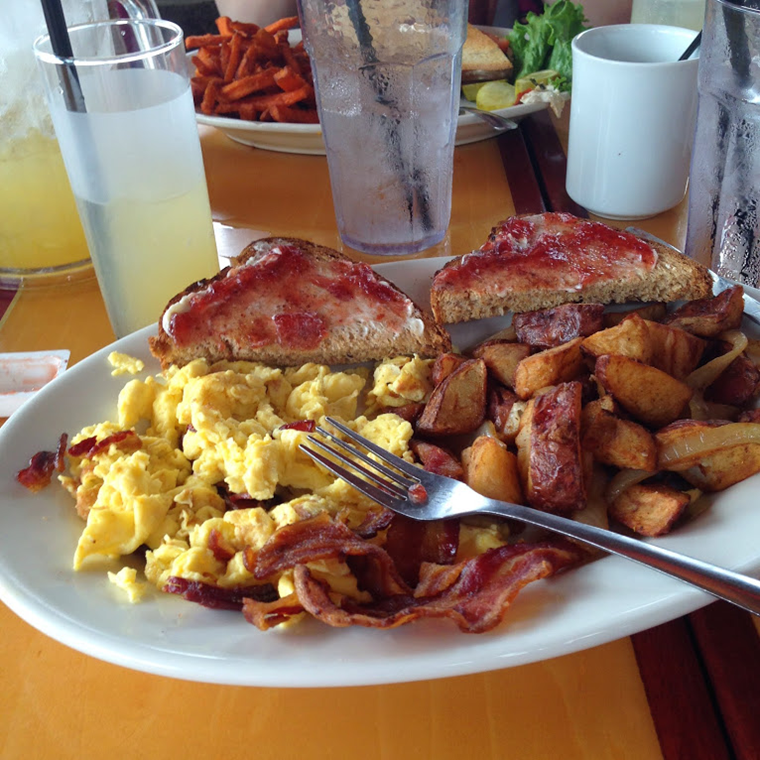
There is no better way to kick off the spring season than by filling out a March Madness bracket and cheering on my teams! Last month I was able to take a little trip to go and visit my sister for her Birthday celebration. My BFF and I cooked a yummy Greek dinner of chicken souvlaki, spanikopita and veggies with tzatziki sauce. I headed down to Richmond for one of the best races in the country: the Ukrop's Monument Ave 10K! The rain wasn't going to stop us on raceday! The best part of the race? Enjoying my white house rolls! And a raceday wouldn't be complete without a fun (and filling) brunch after at Kitchen 64. And Charlottesville may be known for all their local vineyards but recently I have been exploring a few of the local beer and cider venues in the area with friends. I cannot wait to go back for all the summer events these places will be hosting! What have you been up to so far this spring?
xoxo
Megan
You might also like...
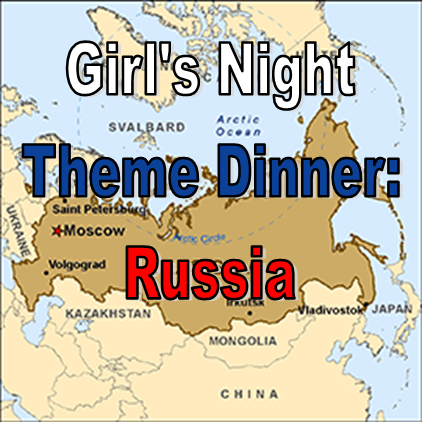
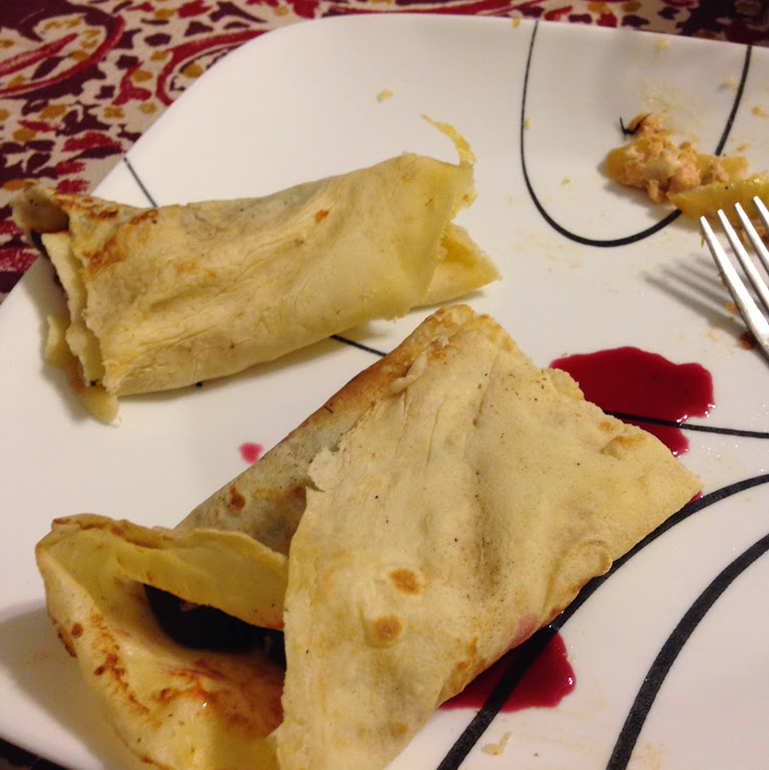
Even with all the snow we had last week, the girl's and I were still able to get together this past weekend for our next theme dinner. With the winter Olympics being held in Sochi, Russia we thought it would be fun to try out some traditional Russian dishes. Our menu for the evening included: - Cabbage Soup
- Russian Salmon and Potato Salad
- Piroshky
- Chicken Kotleti with Mushroom Stuffing
- Cheery Blintzes
I attempted to make the Chicken Kotleti with Mushroom Stuffing (my backup was a bottle of vodka) and I have to say that they came out pretty good. I got the recipe from Olga's Flavor Factory, a blogger who grew up enjoying Russian food and loves to cook and entertain. She has a ton of great Russian recipes to choose from if you want to browse through her site for more great Russian recipes to try. You can find the complete recipe with step-by-step pictures how how to make your own Chicken Kotleti with Mushroom Stuffing here. If you are not a fan of mushrooms you can also try one of the other Chicken Kotleti variations that she has on her site instead. (My hands were a little too messy from the chicken mixture to take pictures. Oops!) While all of our dishes turned out great (trust me, we were all surprised) we did come to the conclusion that Russians must not like adding seasoning in their dishes. I decided to mix things up a little bit (and give the cabbage soup some more flavor) by taking one of my leftover chicken kotletis, cut it up and added it to my cabbage soup along with some salt and pepper. It actually turned out to be a leftover dinner with salad the next day!
Have you tried any Russian dishes in celebration of the winter Olympics? Be sure to share your recipe below!
xoxo
Megan
You might also like...
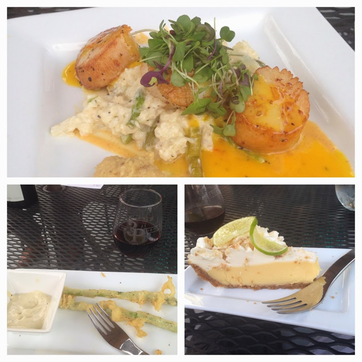
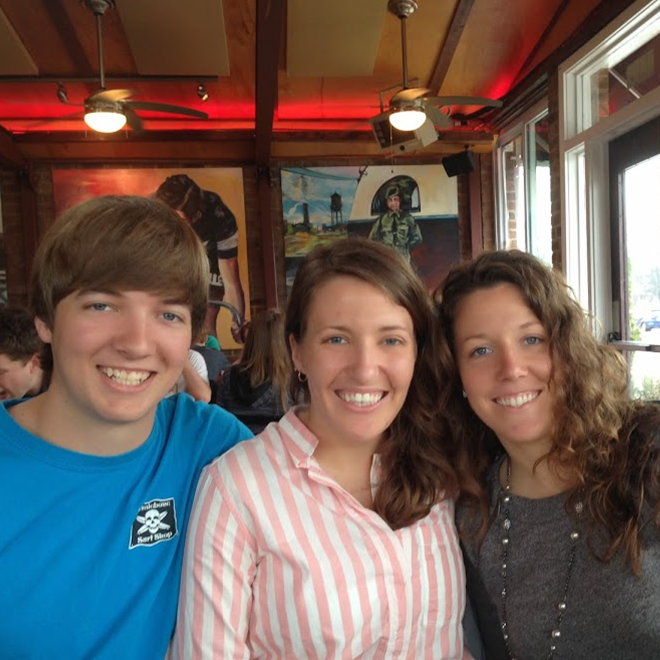
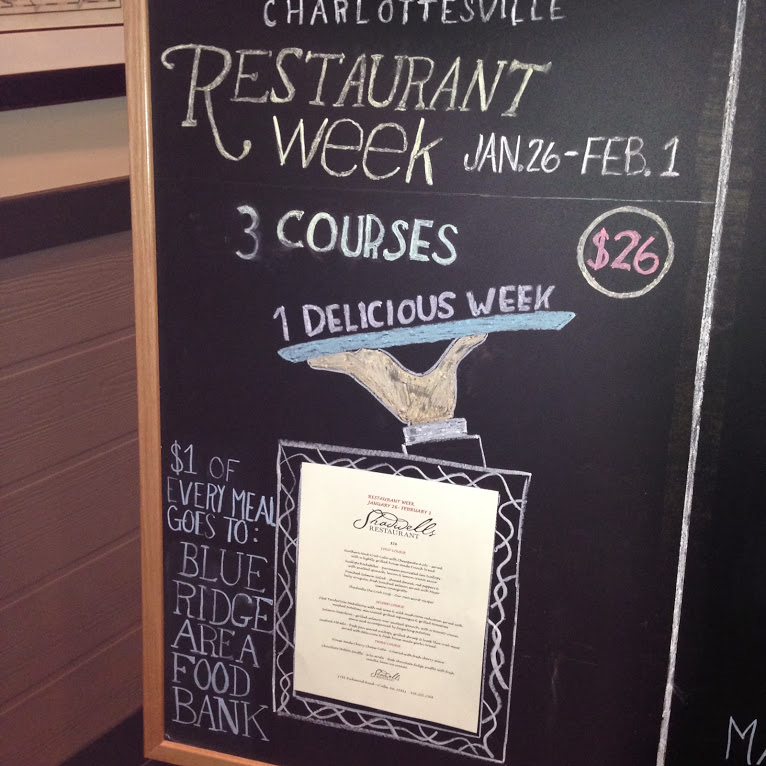
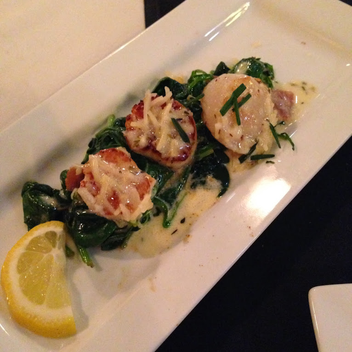
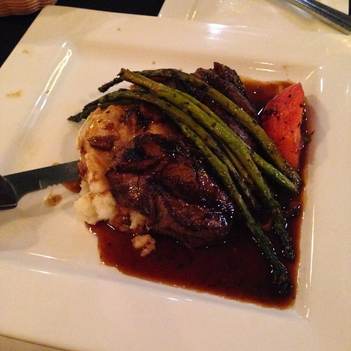
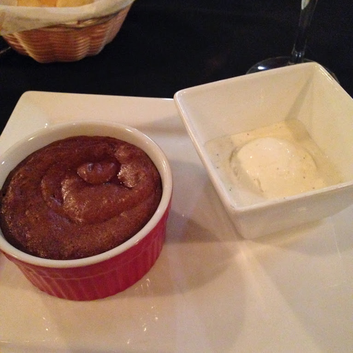
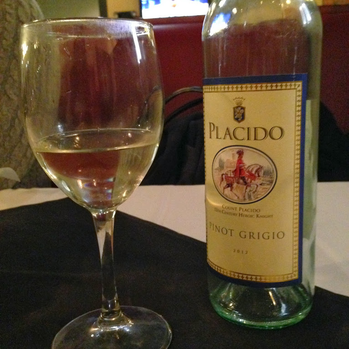
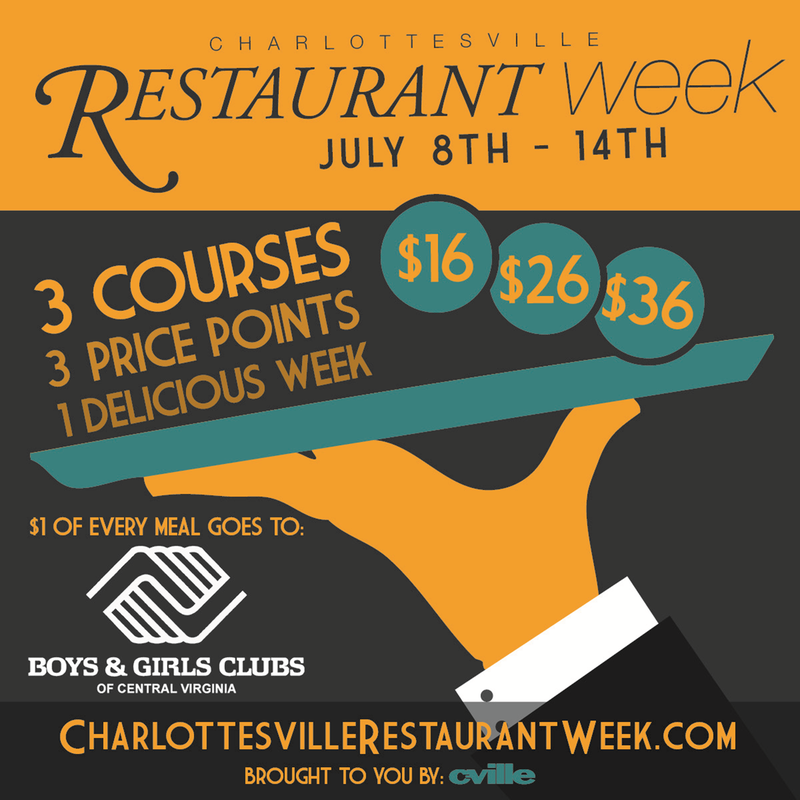
Last week was Restaurant week in Charlottesville and the girl's and I were finally able to get together for a fun night out! In Charlottesville Restaurant Week is hosted twice a year and is something I love looking forward to. It is a great time to try out a new restaurant, enjoy some amazing food and help raise money for a local charity. You can read more about this amazing charity week from checking out my post here or by heading over to CharlottesvilleRestaurantWeek.com. This time the girl's and I decided to try out a restaurant none of us had been to before and Shadwell's Restaurant did not disappoint! Everyone was so friendly, we enjoyed some amazing wine and somehow we ended up eating every last bit of food on our plates! Here are some pictures from our night out on the town... To start the evening my first course was the delicious scallops rockefeller with sauteed spinach, bacon and lemon cream sauce. Followed by the main course of filet tenderloin medallions with red wine and wild mushroom sauce served with mashed potatoes, marinated grilled asparagus and grilled tomatoes. And to end the meal I couldn't resist ordering the chocolate molten souffle a la mode...it was heaven! Since this was girl's night out we just had to order a little vino with dinner too. How can it be girl's night out without wine? I cannot wait for when Restaurant week comes back to town in July! Does the city you live in host a restaurant week too? What is your favorite way to try out new restaurants? Happy Monday!
And because I can't resist, here is my favorite commercial from last night's Super Bowl (since there really wasn't much of a game to watch)... xoxo
Megan
You might also like...
|


 RSS Feed